Weslo Cadence Cr12 Treadmill Manuel d'utilisateur
Naviguer en ligne ou télécharger Manuel d'utilisateur pour Tapis de course Weslo Cadence Cr12 Treadmill. Weslo Cadence Cr12 Treadmill User`s manual [en] Manuel d'utilisatio
- Page / 22
- Table des matières
- MARQUE LIVRES
Résumé du contenu
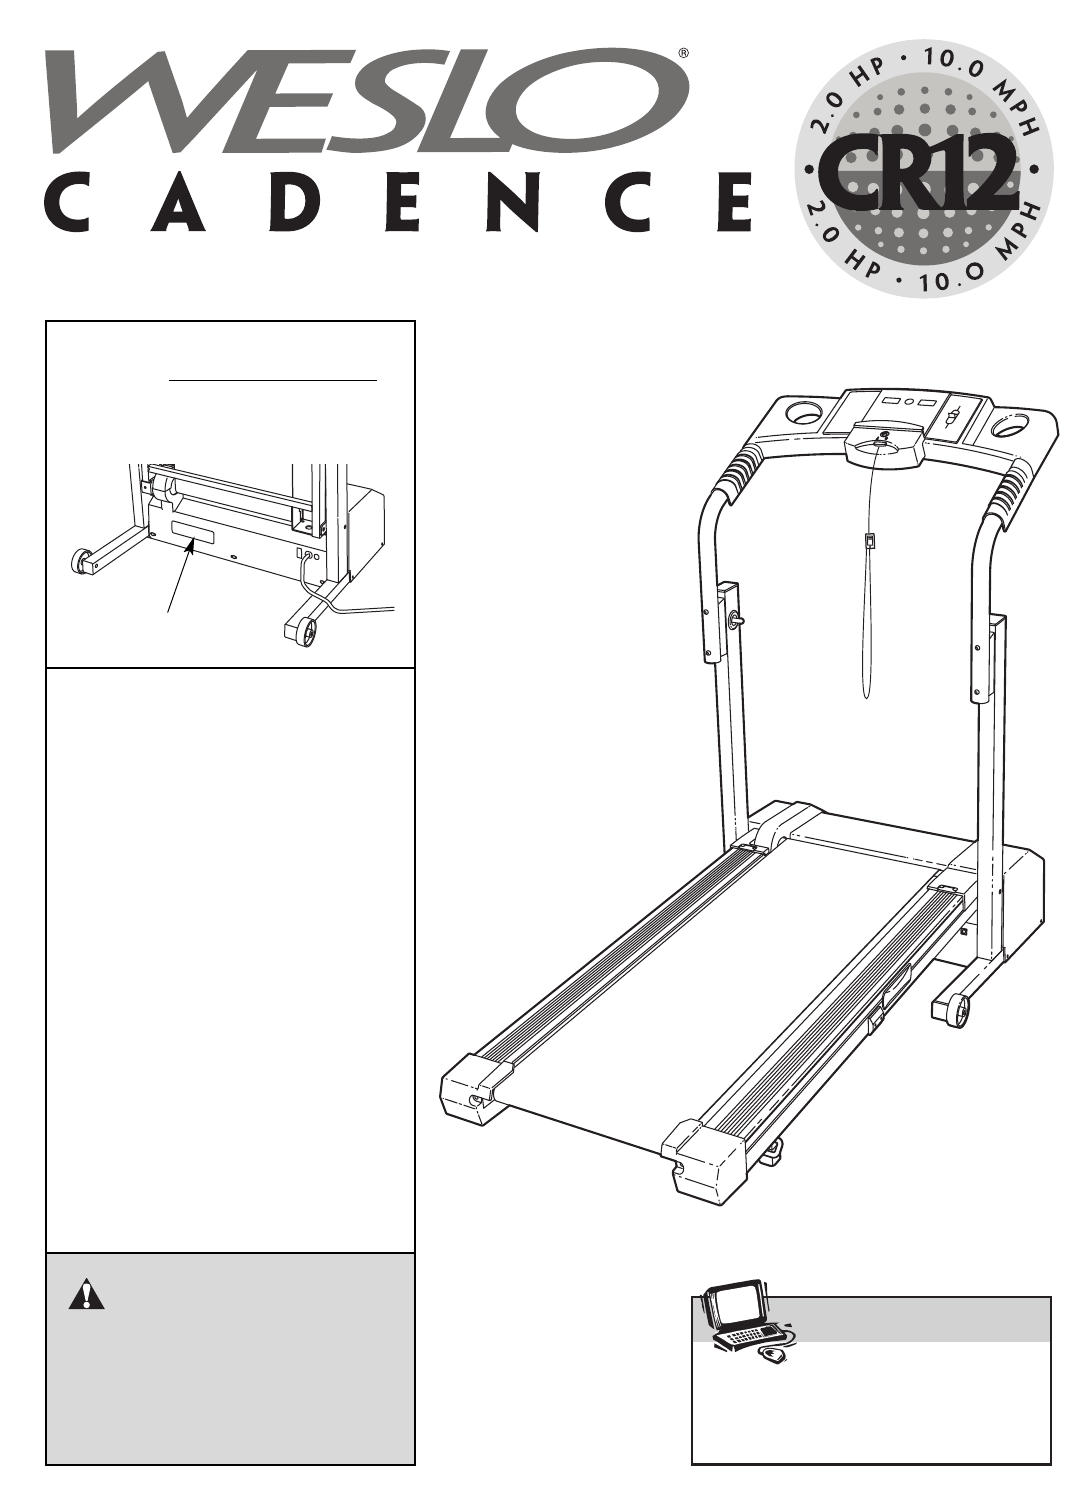
Model No. WLTL21130 Serial No. Write the serial number in thespace above for future reference.CAUTIONRead all precautions and instruc-tions in this m
10OPERATION AND ADJUSTMENTTHE PERFORMANT LUBETMWALKING BELTYour treadmill features a walking belt coated withPERFORMANT LUBETM, a high-performance lub
11CAUTION: Before operating the console, read the following precautions.• Do not stand on the walking belt when turningon the power. • Always wear the
12Follow the steps below to operate the console.Insert the key fully into the console. Inserting the key will not turn on the displays. Thedisplays wi
13HOW TO FOLD AND MOVE THE TREADMILLHOW TO FOLD THE TREADMILL FOR STORAGEBefore folding the treadmill, unplug the power cord.CAUTION: You must be able
HOW TO LOWER THE TREADMILL FOR USE1. Hold the upper end of the treadmill with your right handas shown. Using your left hand, pull the latch knob to th
15MAINTENANCE AND TROUBLESHOOTINGMost treadmill problems can be solved by following the steps below. Find the symptom that applies, andfollow the step
16PROBLEM: The walking belt slows when walked onSOLUTION: a. Use only a single-outlet surge suppressor that meets all of the specifications described
17CONDITIONING GUIDELINESThe following guidelines will help you to plan yourexercise program. For more detailed exercise informa-tion, obtain a reputa
18Training Zone ExerciseAfter warming up, increase the intensity of your exer-cise until your pulse is in your training zone for 20 to60 minutes. (Dur
19NOTES
2TABLE OF CONTENTSIMPORTANT PRECAUTIONS . . . . . . . . . . . . . . . . . . . . . . . . . . . . . . . . . . . . . . . . . . . . . . . . . . . . . . .
PART LIST—Model No. WLTL21130 R0903A1 8 3” Bolt2 2 Upright Lock Bracket3 2 Handrail Spacer4 2 Handrail5 16 3/4” Screw6 1 Key/Clip7 1 Frame Guide8 2
28304528289453663757051514052197669687067506095817978407677833727434384763538495376282928282858712511646482716414222182223*262524192021481717173317333
Part No. 201656 R0903A Printed in USA © 2003 ICON Health & Fitness, Inc.ORDERING REPLACEMENT PARTSTo order replacement parts, call our Customer Se
31. It is the responsibility of the owner to ensurethat all users of this treadmill are adequatelyinformed of all warnings and precautions.2. Use the
422. Never drop or insert any object into any opening.23.DANGER: Always unplug the powercord immediately after use, before cleaningthe treadmill, and
5BEFORE YOU BEGINHandrailsConsoleLatch KnobKey/ClipCircuit BreakerWalking BeltFoot RailsIncline LegIncline PinPower CordFRONTRIGHT SIDEBACKRear Roller
6ASSEMBLYAssembly requires two persons. Set the treadmill in a cleared area and remove all packing materials. Do notdispose of the packing materials u
73. With the help of a second person, tip the treadmill so theBase Pads (33) (see drawing 1) are lying flat on the floor.Raise the Uprights (14, 15)
86. Hold the Console (11) near the Console Base (87).Touch the right Handrail (4) to discharge any static.Locate the two wires in the Wire Harness (53
99. Make sure that all parts used in assembly are properly tightened before you use the treadmill. Keepthe included allen wrenches in a secure place f
Produits connexes et manuels pour Tapis de course Weslo Cadence Cr12 Treadmill
 (181 pages)
© 2020, manymanuals.fr. Tous droits réservés | 0.583 s |
 Manymanuals.com
 Manymanuals.de
 Manymanuals.fr
 Manymanuals.it
 Manymanuals.pl
 Manymanuals.cz
 Manymanuals.es
 Manymanuals-pt.com
Commentaires sur ces manuels